Home Services About Reviews Contact 9255031377

Chimney Flashing Repair in Walnut Creek, CA

Walnut Creek Roofers repairs chimney flashing, the layered metal and sealant that keeps storm water from running down your masonry and into the attic. Winter rain systems push sideways against the chimney, and hot, dry summers crack the caulk bead until it quits sealing. Call 9255031377.

Chimney flashing is the layered metal system that ties a chimney into the roof plane. It starts with apron flashing on the low side, step flashing woven into each course of shingles up both sides, and counter-flashing cut into the masonry.

On mid-century modern homes from the 1950s and 1960s, we usually find the original tar and roof cement dried to a crust. Water wicks behind it, soaks the decking, and rots the rafter tails long before a stain shows on the ceiling.

Contemporary homes built in the 1990s and 2000s often have a metal chase instead of masonry. Those joints tend to fail at the fasteners, not the metal.

Spanish and Mediterranean revival style homes add stucco to the mix. Stucco moves at a different rate than roofing does, which is exactly where counter-flashing earns its keep.

Strong afternoon winds drive rain up under the flashing on the windward side, and occasional hail dents aluminum until it lifts off the sealant bead. Copper and lead cost more and outlast several rounds of the same patch job.

Not every chimney leak is a flashing problem. A face-nailed drip edge, a valley that dumps straight onto the chimney, or an ice dam at the eave all show up as a ceiling stain near the fireplace.

We check pipe boots and vent boots above the chimney too. A cracked boot flashing at a plumbing stack leaks in the same spot and gets blamed on the masonry every time.

We also look at what sits next to the chimney. Soffit and fascia rot below it usually starts at the gutter, not the roof.

A ridge vent cut too close to the chase, a sagging ridge beam, or a parapet joint on a commercial building will all send water to the same ceiling stain.

What's Included

  • Full tear-off of shingles and underlayment within a few feet of the chimney, so we can look at the decking instead of guessing at what is underneath.
  • New apron flashing on the low side and step flashing up both sides, set in a continuous bed of roof cement rather than spotted dabs of mastic.
  • Counter-flashing cut into a reglet in the masonry and sealed with urethane caulk that flexes with brick and stucco movement.
  • Flashing details matched to the roof surface, because asphalt shingle, architectural shingle, wood shake, slate, clay tile, and standing-seam metal panel each lap and fasten differently.
  • Replacement of rotten plywood or OSB sheathing, plus a new run of felt or synthetic underlayment before the shingles go back down.
  • Work that meets local building code, with proper clearance to combustibles, screws rated for the sheathing, and a vapor barrier that keeps masonry moisture out of the deck.
  • A written roof estimate with line items for metal, labor, and sealant, and a walkthrough of the finished flashing before we pack up.
  • Signs You Need Chimney Flashing Repair

  • Water stains on the ceiling or the chimney breast that show up after the first hard winter storm.
  • Rust streaks down the chase, or a downspout that keeps overflowing long after the rain has stopped.
  • Cracked, blistered, or peeling caulk where the flashing meets the masonry, a clear sign of end-of-life wear in the sealant.
  • Loose or buckled step flashing you can lift with a pry bar, or shingle edges curling away from the chimney.
  • Algae-stained streaks on the north slope, granule loss piling up in the gutter, and white mineral bloom that returns on the brick after every storm.
  • A skylight, dormer, or second chimney flashed at the same time and now failing the same way.
  • Our Chimney Flashing Repair Process

  • We start with a roof inspection at the chimney, checking flashing condition, decking, and moisture in the rafter and joist ends below.
  • You get a written roof estimate that separates the flashing repair from anything else we found, so the scope is clear before anyone climbs up.
  • On work day we set a tarp below, run a ladder or scaffold on the low side, and clip in with a safety harness before anything comes apart.
  • We pull the shingles, cut back the failed tar paper or felt, and check the truss and sheathing for rot that an earlier repair may have hidden.
  • New flashing goes in layer by layer: membrane first, then step flashing chased into the mortar joints, then counter-flashing cut into the masonry.
  • We refit the shingles in staggered courses with ring-shank nails from the nail gun, then sweep the lawn for debris before the dumpster leaves.
  • Why Walnut Creek Chooses Walnut Creek Roofers

    Chimney flashing fails in ways a general roofer can miss, and we have climbed enough of these chases to know which ones leak and which ones just look like they do.

    First-Class Service

    Certified installers and a meticulous process from inspection to cleanup.

    Premium Materials

    Top-tier products backed by manufacturer and workmanship warranties.

    Long-Lasting Results

    Built to withstand Walnut Creek's climate for decades of protection.

    Explore Our Other Services

    Chimney Flashing Repair Across Walnut Creek Metro

    We cover chimney flashing across Walnut Creek and the surrounding Contra Costa County neighborhoods, from Downtown Walnut Creek and Rossmoor out to Heather Farm, Castle Rock, and Green Valley.

    Need Chimney Flashing Repair in Walnut Creek?

    Recent Chimney Flashing Repair Projects in Walnut Creek

    Real work, real roofs — a sample of completed jobs
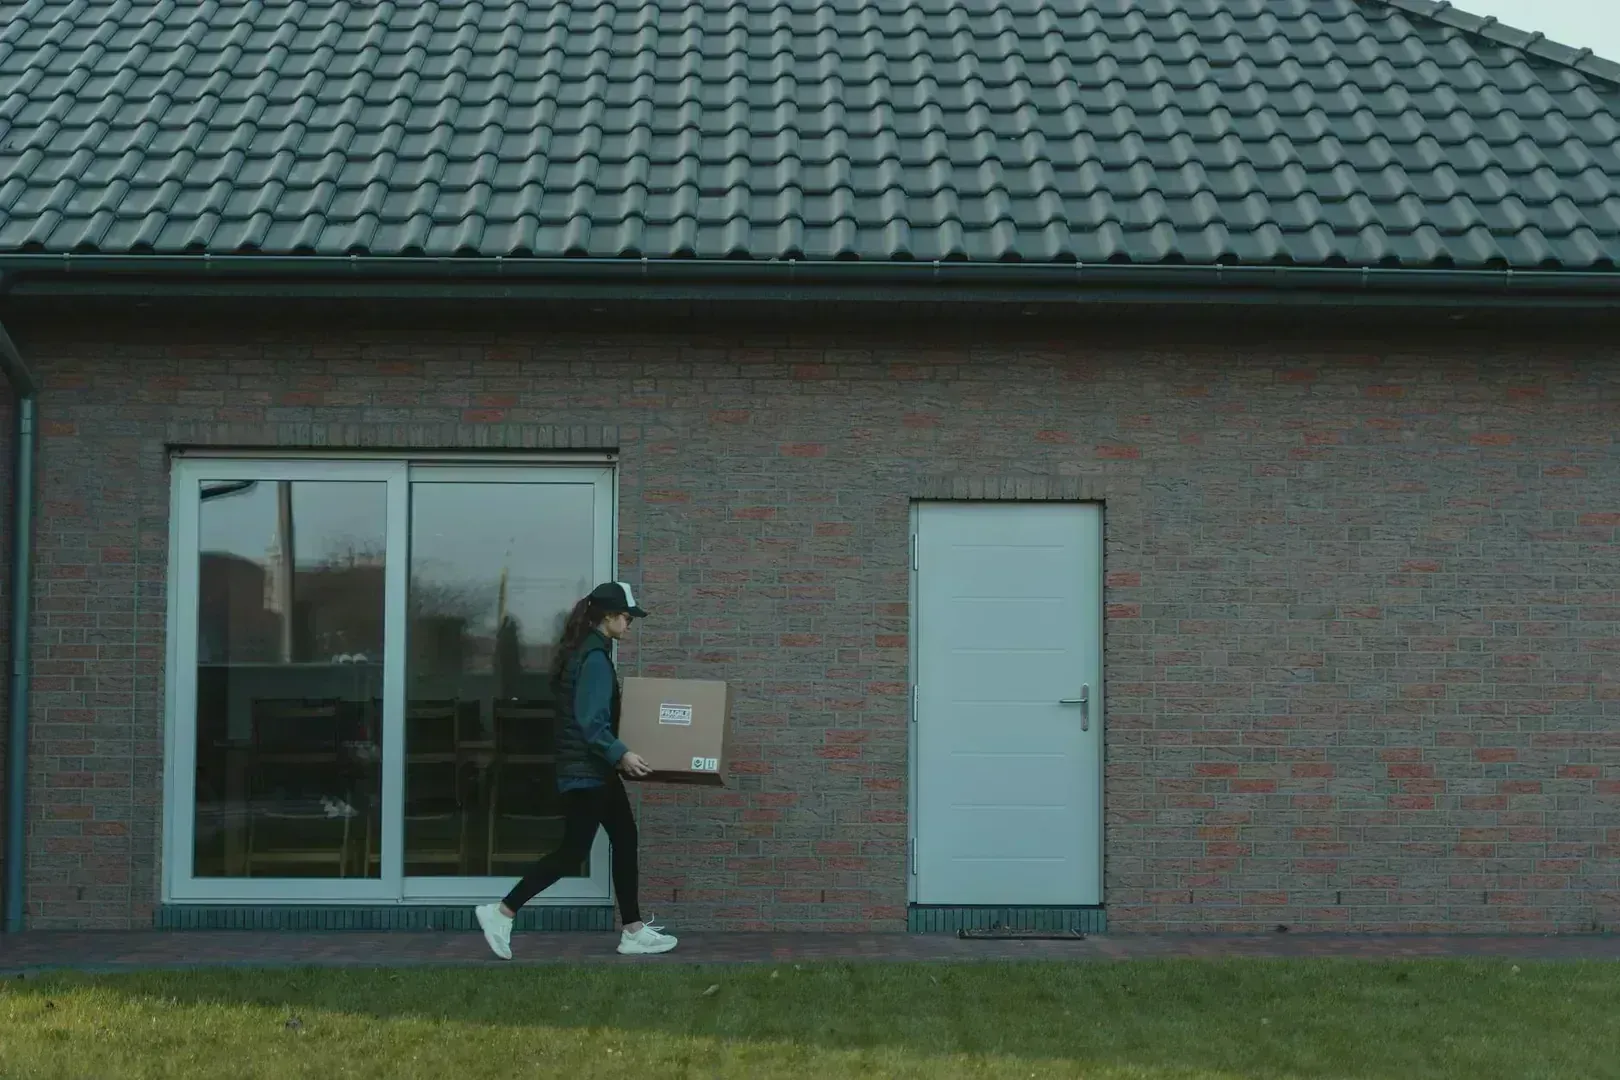
    Completed roofing project
    Roof replacement project
    New roof installation
    Roof repair completed